


|
|
|
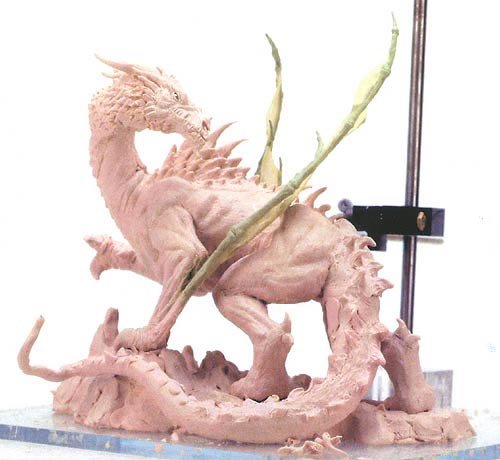
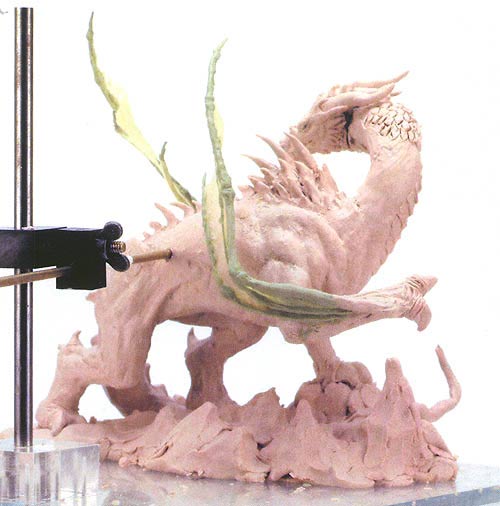
Step 3 � The Rough Sculpture
Next, a rough clay sculpture is created, using the sketch as reference�
At this point we are more concerned with capturing the correct pose and muscle structure, then we are about adding details - those come later.
Step 4 � Detailed Sculpture
Once the pose and anatomy have been captured in clay form, it is time to add the details � both big and small � that are the hallmark of every McFarlane Toys action figure...
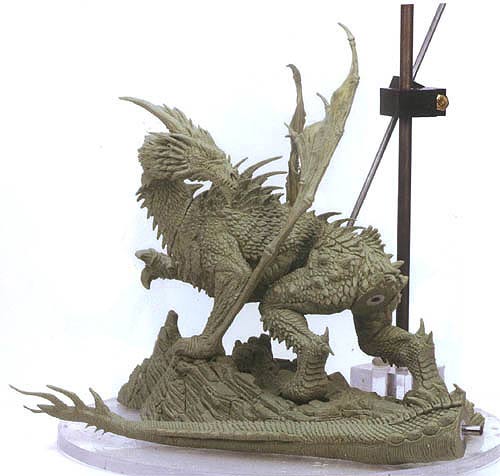
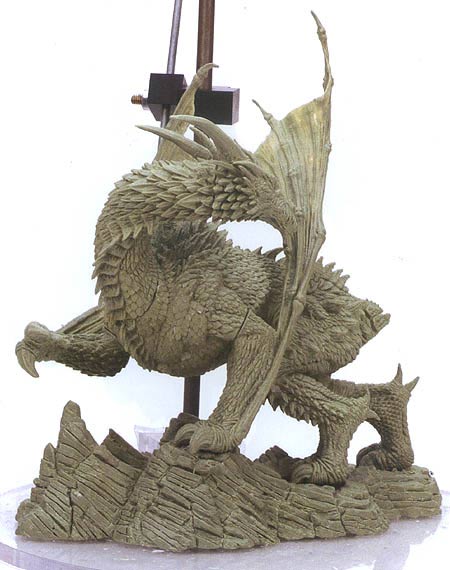
The attention to detail from this point forward is crucial in re-creating the concept first brought to life in the design sketches. Every crease and scale, every inch of padded skin and each spike is put in place and crafted to showcase the real-world details that would be apparent had these imaginary creatures actually existed.
Step 5 � Paint
Now to add a little life to these proceedings...
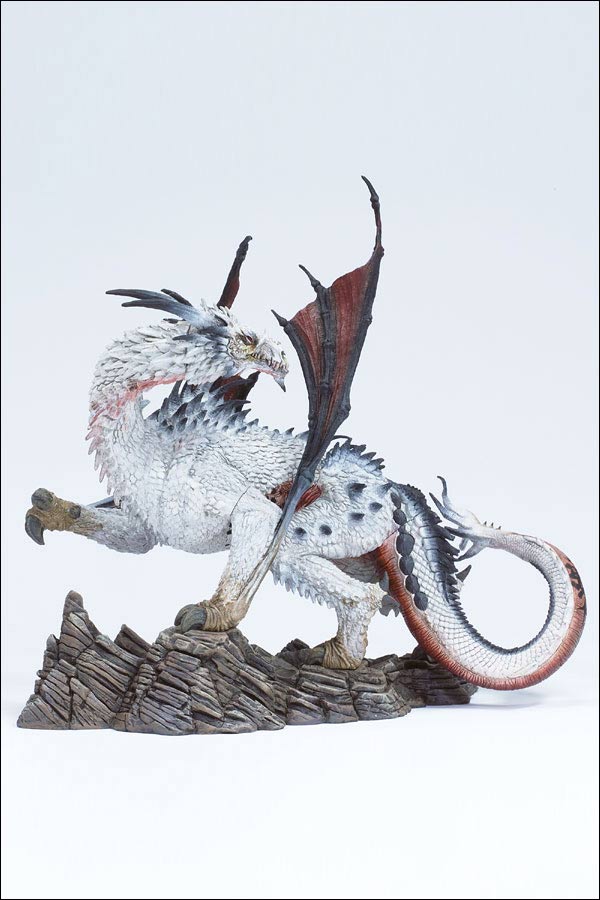

The application of paint to the detailed sculpture is the final step in bringing the idea from the mystical realm of imagination into the real world. Colors fading in and out. Various tones to capture the majesty of these ferocious beasts. As cool as the unpainted sculptures are, this is the moment when it all comes together.
Step 6 � Final Packaged Figure
The clay has been shaped. The design has been meticulously crafted and critiqued. The paint has been added. The only thing that remains is to cage the beast within its packaging so that it may be shipped off to retailers the world over...
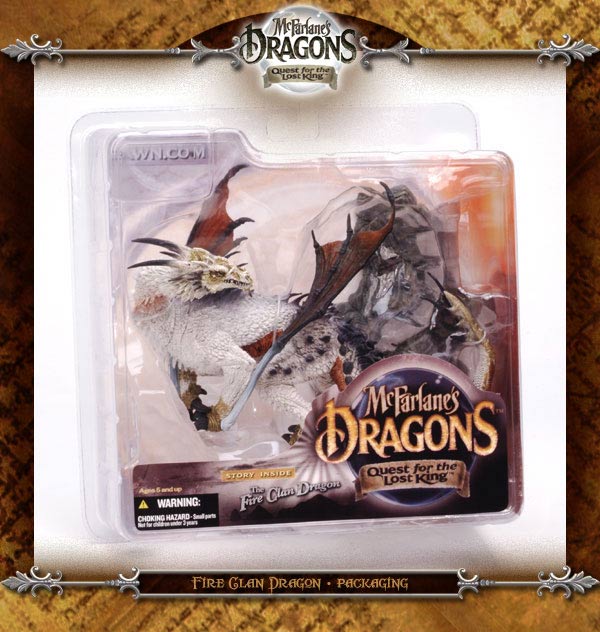
...where collectors and fans can finally have the pleasure of taking it home and adding the piece to their ever-growing collections.
|
|
|
 |
 |
Tweet
|
All images, format, content, and design are copyright © 1994-2013 Raving Toy Maniac. No part of these pages may be reproduced without express written consent of the Raving Toy Maniac. Licensed character names and images are copyright © their respective companies.